
You pay a monthly fee for an alarm that stops working when the company's servers go down. You read the terms of service and find out that every door you open is logged on someone else's computer. You buy a kit, and three years later the company drops the product, or decides that the features you already paid for now need a subscription. If any of that sounds familiar, you are not alone, and you are not being paranoid: it has happened again and again.
Wink put its existing customers behind a monthly subscription in 2020 or their hubs would stop working. Insteon shut down its servers overnight in 2022 and left homes with dead hubs. Google ended support for Nest Secure in 2024, turning a security system people had paid hundreds for into a paperweight. Every one of those systems had the same weakness: the alarm lived in the vendor's cloud, not in the house.
This guide shows you how to build the opposite: an alarm system that runs entirely inside your home, answers in a fraction of a second, keeps working when the internet is down, costs nothing per month, and does almost everything a professionally installed panel does. The ingredients are Home Assistant, a free integration called Alarmo, and a set of Zigbee sensors and sirens that you install yourself in an afternoon.
Why a Commercial Alarm Leaves You Frustrated
Before building anything, it helps to name exactly what is wrong with the usual options, because every design decision below is meant to fix one of these problems.
- The monthly fee never ends. The hardware is often sold cheap because the business is the subscription. Over five or ten years, the fee costs far more than the equipment.
- The cloud is a single point of failure. When the vendor has an outage, arming from the app, notifications and sometimes the alarm logic itself stop working. Your house did not change; their data center did.
- No internet, no alarm. Many DIY kits need a working connection to do anything clever. Cutting a cable or a router losing power is enough to blind them.
- Your routine is someone else's data. An alarm knows when you leave, when you come back, when you go to sleep and when the house is empty. That is exactly the information you would least like to share.
- You are locked in. Sensors from one brand only work with that brand's base station. If the company raises prices, removes a feature or disappears, all of it goes in the drawer.
- It does not talk to the rest of your home. A commercial alarm rarely turns on every light when it triggers, closes the blinds, or arms itself when the last phone leaves the house.
A local alarm built on Home Assistant fixes all six. Here is how.
How a Local Alarm System Works
A professional alarm panel is, at its heart, a small computer with a list of sensors, a set of rules and a siren. That is exactly what you are going to build:
- The brain: Home Assistant, running on a small box in your home. It holds every rule and every sensor state. Nothing has to leave your network.
- The alarm logic: Alarmo, a free, open-source integration for Home Assistant that turns it into a proper alarm panel, with arm modes, entry and exit delays, user PIN codes and a dashboard keypad.
- The radio: a Zigbee coordinator, a small USB or network dongle that lets Home Assistant talk to every sensor directly, without any brand's hub or cloud.
- The eyes and ears: battery-powered Zigbee sensors on doors, windows, hallways and glass.
- The voice: one or more sirens, loud enough to be heard outside, plus notifications on your phone.
Because Zigbee is a local mesh network, a door opening reaches Home Assistant in well under a second, Alarmo decides what to do, and the siren sounds, all inside your walls. If the internet goes down, the only thing you lose is the push notification to your phone; the detection, the delays and the siren keep working.
Step 1: Zones
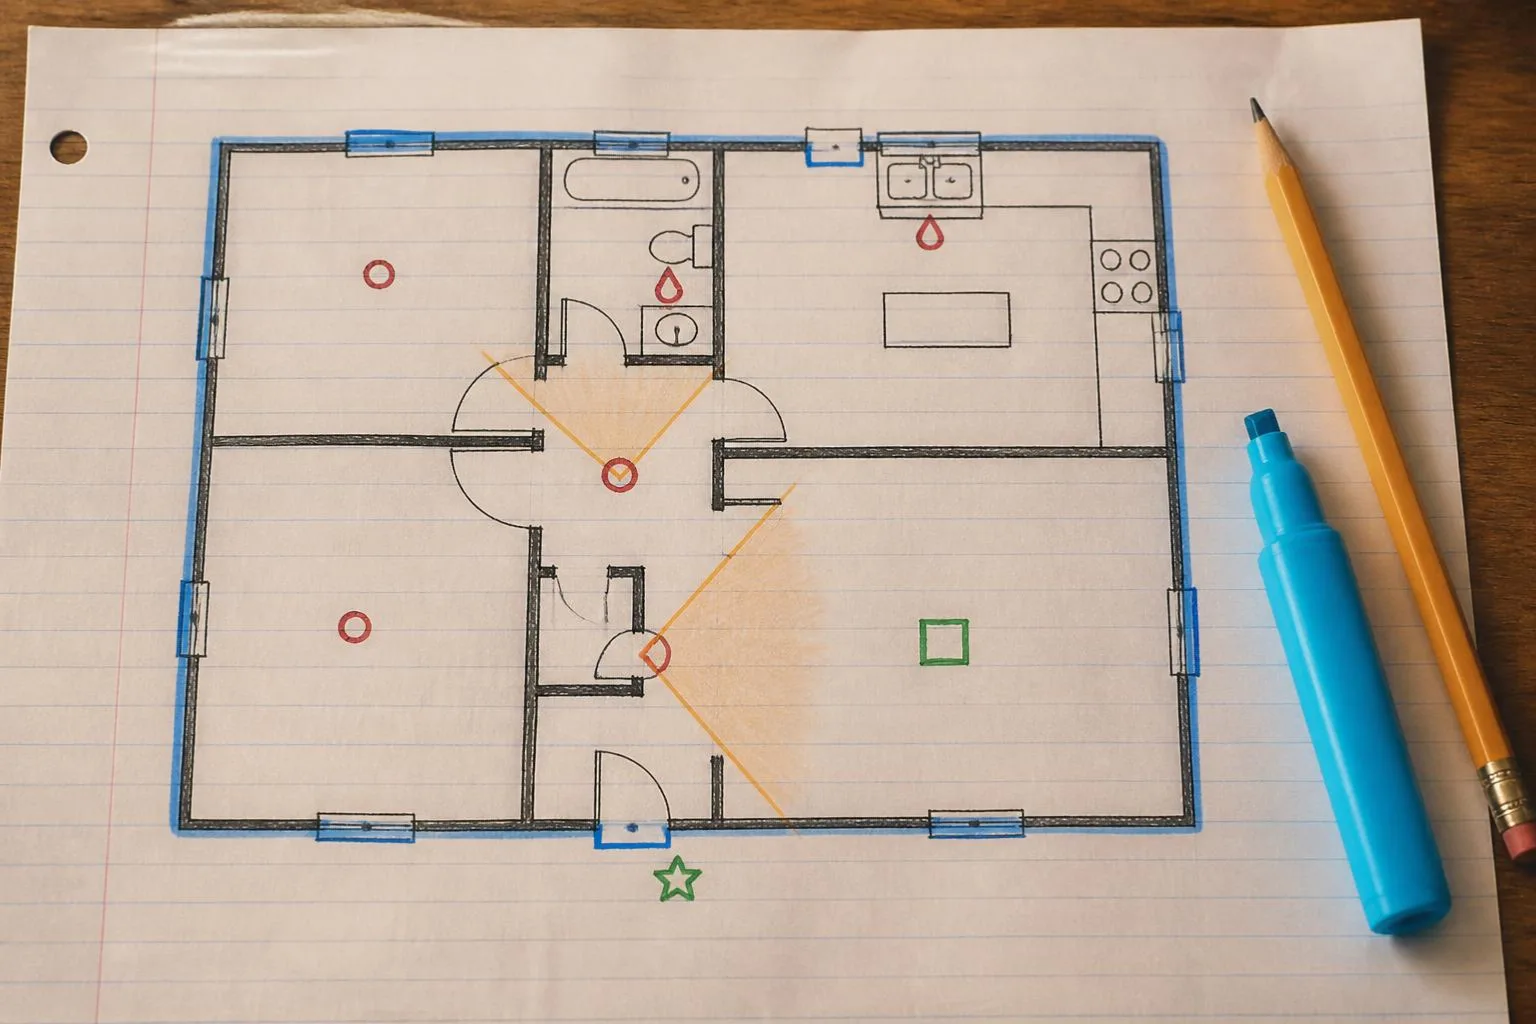
A sketch is all it takes: blue for the perimeter (every door and window), orange for what the motion sensors cover, red for the always-on smoke and water sensors, and green for the hub and the keypad by the front door.
The difference between a gadget collection and a security system is the plan. Professional installers think in layers, and so should you. Take a floor plan (a hand sketch is fine) and mark three kinds of zones:
- Perimeter: every exterior door, every ground-floor window and any window reachable from a roof, balcony or fence. These get a contact sensor. They are the zones you arm even while you are home and asleep.
- Interior: the hallways and rooms an intruder has to cross to reach anything valuable, usually the main hallway, the stairs and the living room. These get motion sensors. A motion sensor in a choke point catches someone who came in through a window you forgot.
- Always on (24 hours): smoke, water leaks and tamper. These should raise the alarm whether the system is armed or not.
Then add two special cases that commercial kits often ignore:
- Glass and sliding doors. A contact sensor only notices when a window opens. A vibration sensor on the glass or on a sliding door notices someone forcing or breaking it before it opens.
- The entry door you use every day. This is the only zone that gets an entry delay, so you have time to disarm when you come home. Every other perimeter zone should trigger instantly.
Step 2: The Brain
Home Assistant needs a small, always-on computer: a box made for it, or a mini PC if you want more headroom or plan to grow beyond the alarm. Three good options:
- Home Assistant Green: the plug-and-play option from the people who build Home Assistant. It comes ready to run, uses very little power and is more than enough for an alarm plus the rest of your smart home.
- Beelink Mini S12: a small, frugal mini PC with an Intel N95 and 12 GB of memory, more than enough for Home Assistant, the alarm and the rest of your smart home, running around the clock on very little power.
- Beelink EQR5: a mini PC with a Ryzen 5, 16 GB of memory (expandable to 64 GB) and its power supply built in, the one to pick if you also want to run cameras with local video recognition next to the alarm.
- Nabu Casa
Home Assistant Green
4.4(906) - Beelink
Mini S12 (N95 12GB + 500GB)
4.4(1.1K) - Beelink13% OFF

EQR5 (5500U 16GB + 480GB)
4.3(1.6K)


Step 3: Zigbee Coordinator
The coordinator is the radio that lets Home Assistant talk to Zigbee devices directly, through either the built-in ZHA integration or Zigbee2MQTT. This is what frees you from brand hubs: an Aqara sensor, a SONOFF siren and a Philips Hue motion sensor all join the same network and answer to the same brain.
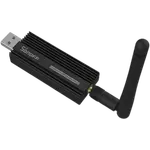
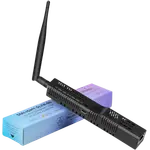
- SONOFF ZBDongle-E: one of the most widely used and best-reviewed coordinators, at a very low price.
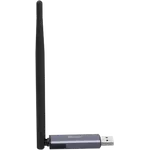
- SONOFF ZBDongle-P: the most reviewed coordinator in our catalog, on a Texas Instruments chip with an amplifier and an external antenna, and supported by both ZHA and Zigbee2MQTT.
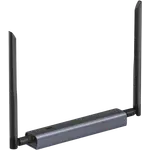
- SMLIGHT SLZB-06: a network coordinator powered over Ethernet (PoE). It does not need to sit next to the Home Assistant box, so you can place it in the middle of the house, where the radio coverage is best.
Make the Mesh Strong Before You Rely on It
Battery sensors do not repeat the signal; mains-powered devices do. Before you trust the system with your house, add a few Zigbee smart plugs that act as routers spread across the home, especially between the coordinator and the far doors, the garage and the upper floor. A strong mesh is the difference between an alarm that catches every door and one that misses the one that matters.
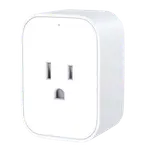
- Aqara Smart Plug: the most reviewed of the three, with energy monitoring and overheat and overload protection, so it also tells you what the appliance behind it is using.
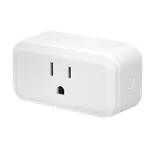
- SONOFF Zigbee Smart Plug S40 Lite: the cheapest way to add a repeater in every room, and you need several.
- SONOFF iPlug S61S: the newer SONOFF, which adds energy monitoring and overload protection for little more.
- Aqara9% OFF
Smart Plug (US)
4.4(703) - Sonoff
Zigbee Smart Plug S40 Lite
4.4(134) - Sonoff
iPlug Gen2 S61s Type B Zigbee Power Meter Smart Plug
4.3(10)

Step 4: Sensors
This is where you get the most for your money. Zigbee sensors are small, cheap, and their batteries last years instead of months.
Door and Window Sensors
One per exterior door and per accessible window. For a security system, look for a tamper alert (it warns you if someone pries the sensor open) and long battery life.
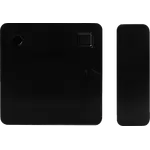
- SONOFF SenseGuard DW Gen2: tamper alert, about three years on two AAA batteries and a very low price, which matters when you need a dozen of them.
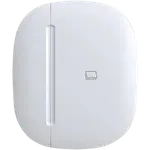
- Aqara Door and Window Sensor: tiny, discreet and the most reviewed Zigbee contact sensor in our catalog, ideal for window frames where space is tight.
- Philips Hue Secure Contact Sensor: a more polished design for the doors people actually see, and it joins any Zigbee coordinator, not only the Hue Bridge.
- Sonoff
SenseGuard DW Gen2
4.2(283) - Aqara6% OFF
Door and Window Sensor
4.4(6.1K) - Philips
Hue Secure Contact Sensor
4.6(258)
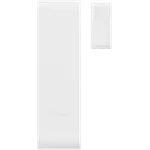

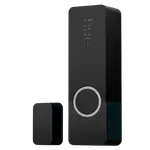
Compare them all in Zigbee door & window sensors, and read how to choose a contact sensor before you buy: the gap between sensor and magnet is the most common installation mistake.
Motion Sensors
For an alarm, a classic PIR motion sensor is the right tool: it reacts to body heat moving across the room, and it ignores the slow changes that confuse other technologies.
- Aqara Motion Sensor P1: a wide 170º angle and batteries rated for around five years.
- SONOFF SNZB-03P: small, inexpensive and well reviewed, a good choice for covering several hallways.
- Philips Hue Motion Sensor: the most reviewed of the three, with adjustable sensitivity and a light and temperature sensor built in, and it joins any Zigbee coordinator, not only the Hue Bridge.
- Aqara17% OFF
Motion Sensor P1
4.2(832) - Sonoff
SNZB-03P ZigBee Motion Sensor
4.2(854) - Philips
Hue Motion Sensor
4.6(1.1K)
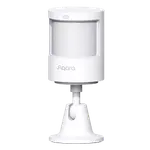

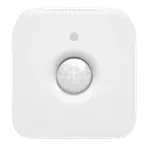
More options in Zigbee motion sensors and our motion sensor buying guide.
Vibration Sensors
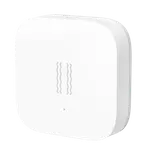
A vibration sensor stuck to a window pane or a sliding door reacts to knocks, prying and breaking glass, before the window is open.
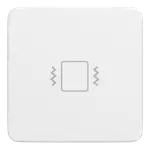
- Aqara Vibration Sensor: adjustable sensitivity and also detects tilt, useful on a garage door or a gate.
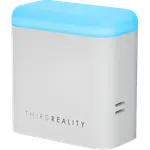
- Third Reality Vibration Sensor: a well-rated alternative.
- Aqara Multi-State Sensor P100: the newer Aqara, with adjustable sensitivity and tilt and drop detection too, which also speaks Matter over Thread if you ever leave Zigbee.
- Aqara10% OFF
Vibration Sensor
3.8(1.9K) - Third Reality
Vibration Sensor
4.1(608) - Aqara10% OFF
Multi-State Sensor P100
3.2(106)
Presence Sensors
A mmWave presence sensor knows whether someone is in a room even when they sit still. That makes it great for answering "is anybody home?" before auto-arming, but it is too sensitive to be a trigger: it can see through thin walls, curtains and pets. Use PIR sensors to trigger the alarm, and presence sensors to decide when to arm it. Our presence sensor guide explains the difference.
- Aqara Presence Sensor FP1E: plugs into power, covers a room of about 50 m² and repeats the Zigbee signal for the sensors around it.
- SONOFF Zigbee Human Presence Sensor: the inexpensive one, powered over USB-C, with a light sensor to switch on the lights only when it is dark.
- Aqara Presence Sensor FP300: runs on batteries for about three years and pairs mmWave presence with a PIR motion sensor, so it goes where there is no outlet.
- Aqara14% OFF
Presence Sensor FP1E
4.0(494) - Sonoff
Zigbee Human Presence Sensor
4.0(466) - Aqara
Presence Sensor FP300
3.7(917)

Smoke Alarms
Alarmo treats a smoke alarm as an environmental sensor that can trigger the alarm even while it is disarmed, so the same sirens and the same notifications protect you from fire too. Put one in every bedroom, in the hallway and on every floor.
None of the Zigbee smoke alarms in our catalog is sold on Amazon US today, so these three speak Matter over Thread or Z-Wave instead, which Home Assistant runs just as locally:
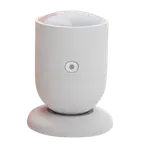
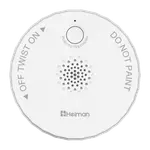
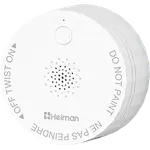
- Heiman Matter Smoke Detector S1-TM: Matter over Thread, with its own siren; it tests itself and also reads temperature and humidity.
- Heiman Matter Smoke Detector S1-M: the simpler Heiman, also Matter over Thread, with a battery rated for five years.
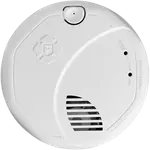
- First Alert SMCO410: smoke and carbon monoxide in one, on Z-Wave, with a sealed battery that lasts ten years.
- Heiman10% OFF
Matter Smoke Detector S1-TM
4.7(16) - Heiman
Matter Smoke Detector S1-M
3.6(81) - First Alert
SMCO410 Smoke Detector & CO Alarm
3.5(272)
The two Heiman alarms need a Thread border router, which many homes already have in an Apple TV, a HomePod mini or a Google Nest hub, and which Home Assistant uses through its Matter integration. The First Alert needs a Z-Wave stick next to the Zigbee one, such as the Zooz Z-Wave Long Range Stick.
See every smoke alarm that works with Home Assistant.
Water Leak Sensors
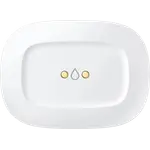
A leak is an environmental sensor too: it triggers whether the alarm is armed or not, so a burst pipe while you are away sounds the sirens and reaches your phone like an intrusion would. Put one under every sink, behind the washing machine and next to the water heater.
- Aqara Water Leak Sensor: the most reviewed Zigbee leak sensor in our catalog, small enough for any corner.
- SONOFF Zigbee Water Leak Sensor: waterproof (IP67), about five years on its battery and an optional sensing cable to watch a longer stretch of floor.
- Aeotec Water Leak Sensor: also warns when the temperature drops toward freezing, useful for pipes in a basement or a cabin.
- Aqara5% OFF
Water Leak Sensor
4.2(3.7K) - Sonoff9% OFF
Zigbee Water Leak Sensor
4.5(415) - Aeotec
Water Leak Sensor
4.5(525)


See all Zigbee water leak sensors.
Step 5: Sirens
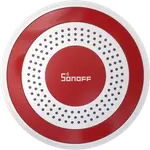
An alarm that only sends a notification is a camera without a lens: by the time you read it, the damage is done. The siren is what makes an intruder leave in seconds. Put one high in the main hallway, where it is loud for the intruder and hard to reach, and a second one near the front of the house, where the neighbors hear it too.
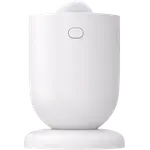
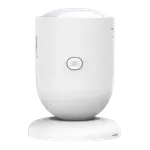
- SONOFF SNZB-09P Zigbee Indoor Siren: plugs into power, carries a backup battery and has a tamper alert, and it joins the same Zigbee network as the sensors.
- Aeotec Siren 6: louder, at 105 dB, with a 1,000 lumen light and 30 tones to tell an intrusion from a fire. It is Z-Wave, so it shares the Z-Wave stick of the First Alert smoke alarm.

See every siren that works with Home Assistant.
Step 6: Alarmo Setup
With the hardware paired in Home Assistant, it is time to turn it into an alarm panel.
Install It
Alarmo is installed through HACS, the community store for Home Assistant: open HACS, search for "Alarmo", install it, restart Home Assistant and add the Alarmo integration. A new "Alarmo" entry appears in the sidebar, which is where everything below is configured, without writing a single line of code.
Choose Your Arm Modes
Alarmo offers five modes. Most homes use three of them:
- Armed away: everything is active, perimeter and interior. For when the house is empty.
- Armed home or Armed night: only the perimeter is active, so you can walk around (or sleep) inside while every door and window is protected.
- Armed vacation: like away, ideal for adding presence simulation (lights turning on and off in the evening) and stricter notifications.
- Armed custom bypass: a mode you define yourself for unusual cases.
For each mode you set the exit time (how long you have to leave after arming), the entry time (how long you have to disarm after coming in) and the trigger time (how long the siren sounds).
Configure Each Sensor
This is where Alarmo behaves like a professional panel. For every sensor you set its type (door, window, motion, tamper or environmental), the modes in which it is active, and a few options with a big impact:
- Use entry delay: only on the door you use to come home. Every other zone triggers instantly.
- Use exit delay: on the door and the hallway motion sensor you walk past on the way out.
- Always on: for smoke, water and tamper. They trigger even while disarmed.
- Allow open after arming: for a window you leave ajar at night; it is ignored until it closes and opens again.
- Arm after closing: the system finishes arming as soon as the front door closes, instead of waiting for the full exit time.
- Bypass automatically: excludes a sensor that is open at arming time instead of refusing to arm.
- Trigger when unavailable: treats a sensor that stops reporting as an intrusion. Turn it on for the most critical doors (see the hardening section below).
Create Users and PIN Codes
Give every person their own PIN code. Alarmo stores the codes encrypted inside Home Assistant, lets you disable a user (a cleaner, a house sitter) without touching the others, and records who armed or disarmed the system. That is exactly what professional panels offer, and what cheap kits usually do not.
Notifications and Actions
Alarmo has its own notification and action builder for every event: armed, disarmed, triggered and failed to arm. Some ideas that make a real difference:
- When the alarm triggers: sound every siren, turn on every light in the house and outside, and send a critical notification to every phone saying which sensor fired.
- When arming fails because a window is open: a notification naming the open sensors, with a button to force arming anyway.
- When the alarm is armed away: switch off the lights and the heating, and lower the blinds.
- When someone disarms: a quiet notification saying who did it.
Step 7: Arming and Disarming
An alarm nobody arms is not an alarm. Make arming effortless:
- A wall keypad: an old tablet by the front door showing the Alarmo card, which displays the countdown, the open sensors and a PIN keypad.
- Your phone: the Home Assistant app arms and disarms from anywhere, and the same card works there.
- Automatically: an automation can arm "away" when every phone leaves home and no presence sensor sees anyone, and "night" at bedtime. Disarming automatically on arrival is convenient, but for a security system it is safer to keep a PIN.
- Physical keypads: Alarmo publishes its state and accepts commands over MQTT, so wall panels and Zigbee keypads supported by Zigbee2MQTT can arm and disarm it too.
Step 8: Hardening
This is what turns a weekend project into something you can trust while you are away.
- Batteries: create an automation that warns you when any sensor drops below 20%, so no door goes silent because of a dead cell. You do not have to write it yourself: the low battery detection blueprint checks every battery sensor in Home Assistant at the time you choose and sends you the list of the ones below your threshold, with a box to exclude the ones you do not care about.
- Tamper: sensors and sirens with a tamper alert belong in an always-on zone.
- Sensors that go quiet: Zigbee is a radio and can be jammed, and batteries die. "Trigger when unavailable" covers the critical zones, but be aware that Home Assistant can take hours to declare a battery sensor unavailable, so it is a safety net, not instant detection.
Our smart home best practices guide covers network segmentation and local-first design, and smart home security and privacy risks explains what to lock down.
Step 9: Remote Access
An alarm you can only arm from the hallway is half an alarm. You want to check it from work, disarm it for a delivery or see which window fired while you are on holiday. The trap is the shortcut: opening Home Assistant's port on the router puts the login page of your alarm on the internet, where bots scan for it around the clock. Never do it. There are two safe ways in, and both keep the alarm itself running at home.
- Home Assistant Link (formerly Home Assistant Cloud): the official option, run by the company that funds Home Assistant's development. Turn it on, and the Home Assistant app on your phone reaches the system from anywhere, with nothing to open on the router. The connection is encrypted end to end, so the service carries your traffic without being able to read it. It is a small optional subscription, the only one in this whole build.
- Your own VPN: free, and nothing leaves your control. Tailscale is the easiest (install its app in Home Assistant and the one on your phone, and they find each other wherever you are); WireGuard does the same, through its own Home Assistant app, if you prefer to run every piece yourself. Your phone then reaches Home Assistant as if it were at home.
Whichever you choose, two more locks:
- Two-factor authentication: turn it on in your Home Assistant profile, so a stolen password alone does not open the alarm.
- One user per person, with their own password: the same people who have their own PIN code in Alarmo. When someone leaves (a house sitter, a former tenant), disable their user and their code, and nothing else changes.
Step 10: Power Backup
A professional alarm panel has a battery inside, because cutting the power is one of the oldest tricks there is. Your Home Assistant box, the Zigbee coordinator and your router all plug into the wall: without a battery of their own, a power cut switches off the brain, the radio and the notifications at once, which is precisely when some burglars choose to act. A UPS (uninterruptible power supply) is that battery.
What to Plug Into It
- The Home Assistant box, and with it the USB coordinator it powers.
- The router and the internet modem, so the notifications keep reaching your phone.
- A network coordinator powered over Ethernet, or the PoE switch that feeds it.
Leave printers, monitors and heaters on the other outlets: they drain the battery for nothing. The sirens do not need the UPS if they carry a battery of their own, like the indoor siren in Step 5, and the battery-powered sensors are not affected at all. The one weak spot is the mesh: the smart plugs that repeat the Zigbee signal go dark with the power, so a sensor that only reached the coordinator through one of them loses its route until the power is back. Keeping the coordinator in a central spot keeps that list short.
How Big It Needs to Be
The runtime on a UPS spec sheet is measured at half and full load, hundreds of watts. An alarm draws a small fraction of that: a Home Assistant Green, a router and a modem together use a few tens of watts, so even a compact unit keeps them running far longer than the figure on the box. Choose it for runtime and for the number of battery outlets, not for its wattage.
Let Home Assistant Know the Power Is Out
Pick a UPS with a USB data port that Home Assistant can read. Through the Network UPS Tools (NUT) integration, Home Assistant sees when the UPS switches to battery and how much charge is left, so it can:
- send you a notification the moment the power goes out, which is worth knowing whether the alarm is armed or not;
- shut itself down cleanly before the battery runs out, so a long outage never corrupts its database.
Three that Home Assistant reads, from small to large:
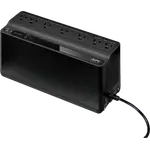
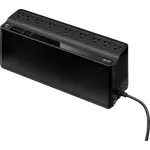
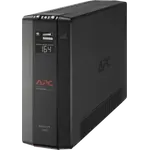
- APC Back-UPS BE600M1: compact, with a USB data port that Home Assistant reads and five battery outlets, plenty for the box, the router and the modem.
- APC Back-UPS BE850G2: the same idea with more battery and six battery outlets, for a longer runtime or a PoE switch on top.
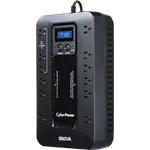
- CyberPower CP1500PFCLCD: pure sine wave output, a display and a much bigger battery, if the same UPS also protects a mini PC or a NAS.
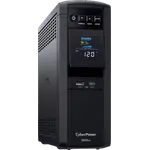
Compare every UPS that works with Home Assistant.
Step 11: Internet Backup
Without internet, your alarm still detects, counts its delays, sounds the sirens and turns on the lights: all of that happens at home. What stops is everything that has to leave the house, the notification on your phone and remote access. In a DIY alarm that notification matters more than anywhere else, because there is no monitoring center behind it: you are the monitoring center, and a siren nobody hears about while you are on holiday sounds for nothing. That is why professional panels carry a cellular module as a backup.
When the Connection Goes Down
- Your provider fails, or the modem goes off in a long power cut. By far the most common case, and it happens exactly when nobody is home to notice.
- Someone cuts the line before breaking in. Rare, but it is the one case the alarm exists for.
Three Ways to Keep the Alerts Flowing
- A router with a SIM card slot: when the line fails, it switches to mobile data on its own and Home Assistant never notices. The TP-Link Omada ER706W-4G takes a nano SIM on 4G, and the Ubiquiti UniFi Dream Router 5G Max a nano SIM or an eSIM on 5G.
- A USB 4G modem or an old phone as a hotspot: many routers accept a mobile connection as a second WAN, through their USB port or over Wi-Fi. The ASUS ROG Strix GS-BE12000, for example, fails over to a 4G or 5G USB modem or to a phone tethered by USB.
- An SMS gateway: a cellular modem plugged straight into Home Assistant, which sends text messages with no internet and no router at all. The most robust option, and the most technical one. In the US it has to be a 4G (LTE) modem, since the 2G and 3G networks have been shut down.
- TP-Link
Omada ER706W-4G
3.7(10) - Ubiquiti
UniFi Dream Router 5G Max
- Asus20% OFF
ROG Strix GS-BE12000
4.1(153)
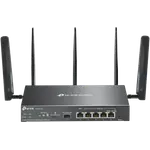
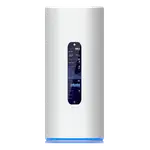

Compare more routers, and look for WAN failover and cellular backup, in our router comparison.
What It Costs and Who Needs It
All three need a SIM card with a data plan (or a text plan, for the SMS gateway): the one monthly fee this build may add, and a prepaid or IoT plan is enough, since it only carries traffic while the line is down. It is worth it if you leave the house empty for days, or for a holiday home; if you are out for a working day and your connection rarely fails, it is optional.
Whichever you choose, plug it into the UPS from Step 10: a power cut that takes the backup down with everything else saves nothing.
Step 12: Data Backup
By now your alarm is a set of decisions: zones, delays, users and PIN codes, automations, notifications, and every Zigbee device paired to the coordinator. If the Home Assistant box dies (a failed disk, a lightning strike, a box carried off by the burglar), rebuilding all of it by hand takes days. A backup brings it back in minutes.
- Turn on automatic backups in Home Assistant (Settings, System, Backups) and let it make one every day.
- Keep a copy off the box: on a NAS on your network, on a cloud drive such as Google Drive or OneDrive, or in Home Assistant Link. A backup that only lives on the box dies with it.
- Save the encryption key outside Home Assistant, in a password manager for example. The backups are encrypted, and without the key they cannot be restored.
- Restore on new hardware by choosing to restore from a backup when you set it up: Alarmo, its users, its sensors and every automation come back as they were.
- Keep the Zigbee network with it. The network lives in the coordinator: plug the same dongle into the new box and the sensors are there. If you change the coordinator, ZHA can migrate the network to the new one, so you do not have to pair every sensor again.
- Try a restore once, on a spare machine or a virtual machine, before the day you need it.
Step 13: Testing
Before you trust it, walk the house:
- Arm in "away" with the siren muted, and open every door and window one by one. Check that each one triggers and that the notification names the right sensor.
- Walk through every room covered by a motion sensor, at normal speed and slowly.
- Arm "night" and confirm you can move inside without triggering anything, while the perimeter still does.
- Unplug the router and repeat a test: the siren must still sound.
- Unplug the UPS from the wall: Home Assistant and the router must stay on, and you should get the notification that the power is out.
- If you have an internet backup, unplug the line that goes into the modem and trigger a sensor while armed: the notification must still reach your phone.
- Test the real siren once, at a reasonable hour, and warn the neighbors.
Then repeat a quick test every few months, and every time you add a sensor.
Advantages of Building Your Own Alarm
- No monthly fee. You pay for the hardware once.
- Private by design. Detection, rules and history stay inside your home. No vendor knows when the house is empty.
- Works without internet. Sensors, delays, sirens and lights keep working when the connection or the vendor's cloud goes down.
- Instant response. Local Zigbee and local rules react in a fraction of a second.
- No lock-in. Mix brands freely: if a sensor is discontinued, you replace it with any other Zigbee sensor.
- Part of your whole home. The same system turns on the lights, closes the blinds, watches for leaks and smoke, and arms itself when you leave.
- Grows with you. Start with the front door and two windows, and add sensors whenever you want.
Limitations to Know Before You Start
To be honest about it, a DIY alarm is not the right fit for everyone:
- Nobody calls the police for you. There is no professional monitoring center. You (and whoever else gets the notifications) are the monitoring center.
- Insurance. Some insurers only give a discount, or only accept a policy, with a certified and professionally monitored system. Check with yours before replacing one.
- You are the installer and the technical support. It takes an afternoon to set up and a little care over time: batteries, updates and the occasional test.
If you can live with those, you get a system that is faster, more private and more flexible than most of what you can rent, for the price of the hardware.
Your Shopping List and Budget
The quantities below are a starting point for a typical home. Change them to fit yours (a contact sensor on every exterior door and on every window someone could reach, one motion sensor per room, one smoke alarm per bedroom and per floor), pick the product you prefer on each line, and the total adds up as you go, with today's prices at your own store. Add a USB extension cable for the coordinator.
- $219.00
- $24.90
- $38.97
- $27.80
- $55.60
- $79.96
- $17.99
- $42.99
- $89.96
- $68.31
- $49.80
- $83.99




Conclusion
A commercial alarm rents you peace of mind on someone else's terms: their servers, their prices, their data policy and their decision about how long your hardware lives. Home Assistant, Alarmo and a handful of Zigbee sensors give you the same protection, layered like a professional installation, running entirely inside your home and owned by you.
Start small with the front door, a hallway motion sensor and a siren, and grow from there. Everything you need to compare is on Smart Home Compared, from the security use case to privacy and local control, and every product that works with Home Assistant.